Ever since I started blogging I have wondered how people Created, Modified and/or Edited Html code and it has had really bugged me. I have used a few bloggers to design a blogging template to my liking e.g. this blog The Myrabev Life or bought a pre-made template e.g. A July Dreamer template and though I am grateful I wondered if once I have bought and paid for the template is I could modify it and maintain it myself instead of hiring someone to do it for me and so the research began last month on HOW TO change certain things on my blog that I was not happy with. I shared with you when I started this series How to create and add a personalised favicon to your site for: Blogger then Wordpress since my blogs The Myrabev Life is on blogger and A July Dreamer is on Wordpress that I wanted to be able to modify my blogs myself. When I did these two posts I have been very happy with the feedback not only here on the blog but on facebook, g+ and pinterest. I then shared with you How to install google fonts, I have wanted to learn this for the longest time as there certain fonts I want for my blog and some of you may have noticed have used 3 different types of fonts on this blog (but leaving the blog post font simple and readable). At the moment I have only done for blogger but I can share how to add fonts to wordpress if people are interested or if I ever get a chance.
Today's post I want to share with you something I only recently learned and that's how to remove the wrench Icons, I have known for a while how to remove the quick edit for the pencil that appears at bottle of blogger post when admin views the post but I could never work out how to remove the wrench Icon (screw driver and spanner) seen at nearly all the widgets in blogger. I started my usual 2-hour research but this one was more like 10 minutes max to just make sure I understood what modifications I needed to do to the html code. This might sound intimidating when talking about html codes but its really not, if I can do it trust me then you can do it because I am useless at all these html code stuff but for my blogger I am slowly learning what I need.
Step 1: Go to blogger dashboard, open templates then click on edit template.
Step 2: Search for tag or tag in your template: , if they are connected by dots don't be shy click on them to open it up
Step 3: Insert this code [.quickedit{display:none;}] immediately after tag or before closing tag, then click save.
Step 4: Refresh your blog and you're done
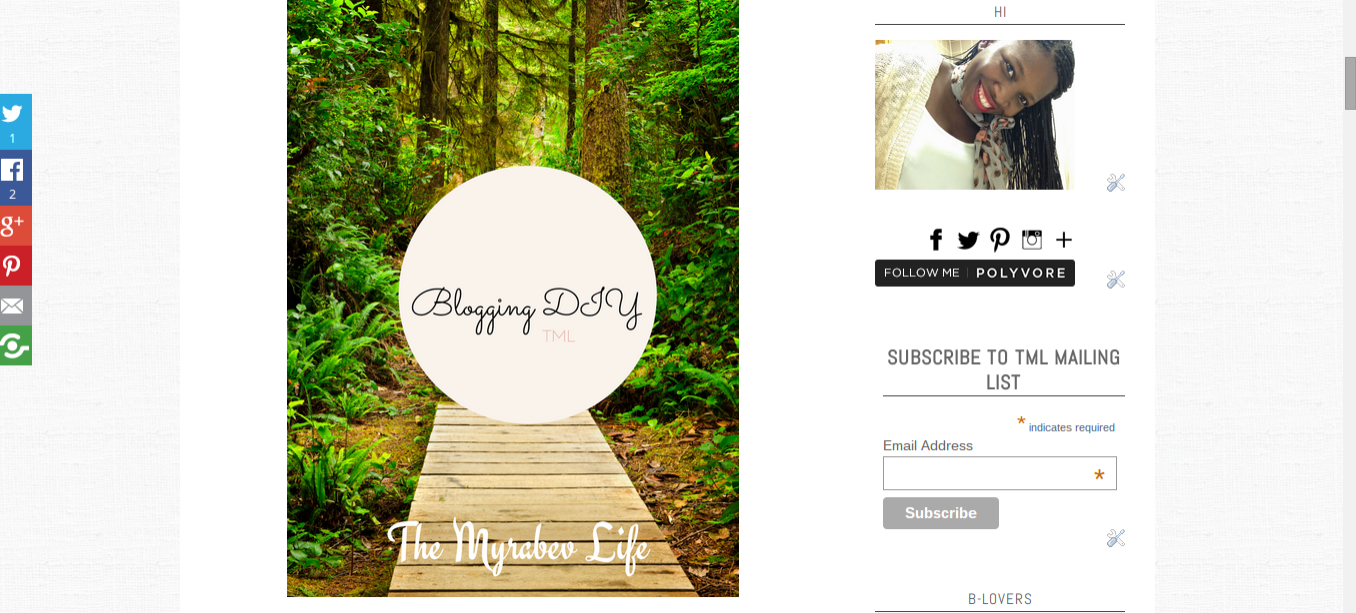 |
| Before (see right side bar - wrench visible) |
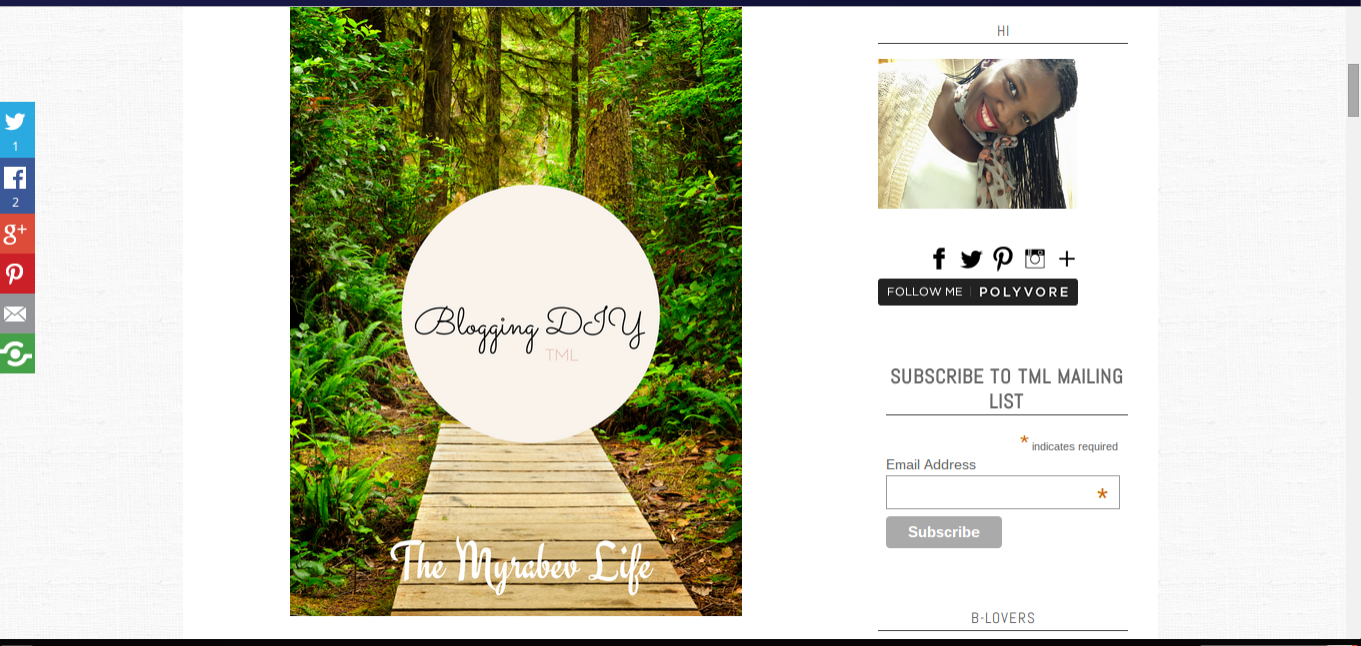 |
| After (see right side bar wrench gone :) ) |
I am learning so much about coding and though I am not an expert there are things that I know I can change myself I am confident enough every day that I try something new. 2015 is another year full of opportunities, growth/development and so much joy and people I am embracing it all. Let me know what you think of this series, I know some of you are already pros and know all these so please let me know in the comments what other ways or improvements could be made to "Removing Wrench Icons".
Labels: blogging, DIY